|
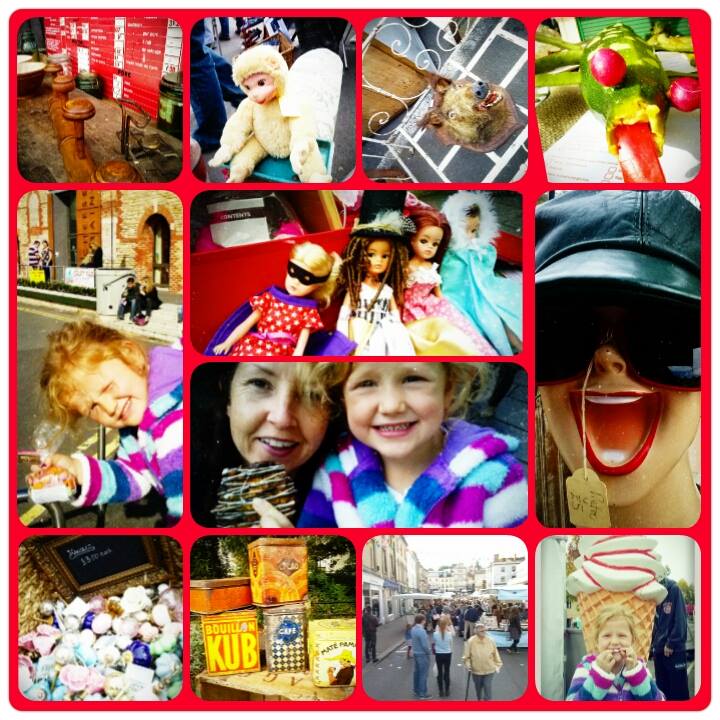
Yesterday, I grabbed my daughter Maggie and we headed out for a girlish (her word, not mine!) time in Frome to soak up the markets. There have been loads of changes since my last visit and the whole town was covered in stalls. The 1st Sunday of the month sees the regular Frome Independent Market along with the Make it and Craft It in the Cheese & Grain, the Flea Market in the car park AND a recent wonderful addition of the Suitcase Sale on St Catherine's Hill - enough to keep us busy for a good few hours while the boys were at a rugby tournament. Naturally I was drawn to all the bright fabrics and Maggie seemed to enjoy stroking all the stuffed animals, of which there were plenty, ahem. The sun shone, the people were happy and friendly and that florentine was as delicious as it looks. Sunday is great to visit Frome as parking is free, although be warned, it gets extremely busy! We had lunch at the Cheese & Grain, a yummy roasted squash and feta soup and hoops for the girl, classy hey? I'll be heading back again for some Christmas shopping as it is clear you can buy anything and everything there. Next one is on 2nd November, more info here.
0 Comments
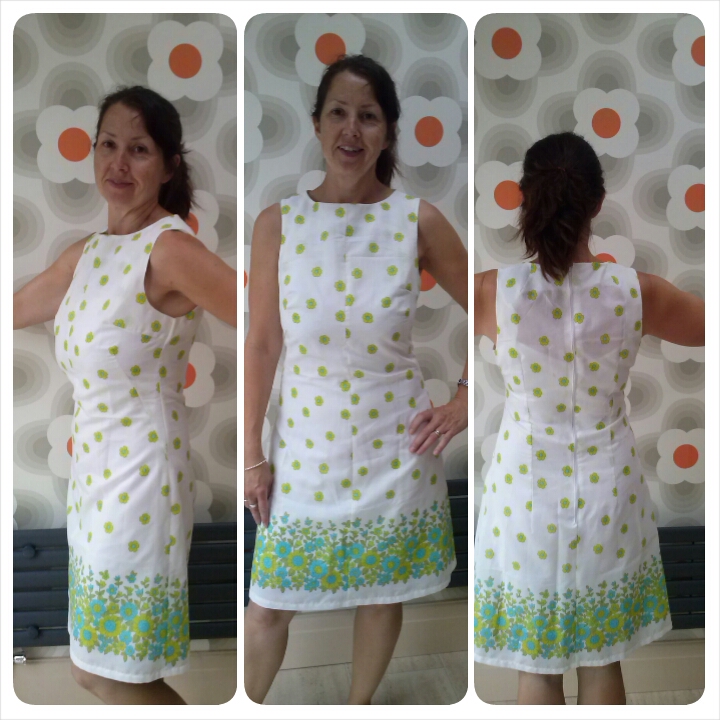
Yesterday my crafty buddies and I went up to The Handmade Fair run by Kirstie Allsopp, hobbycraft and Mollie Makes. It was a glorious day, which was lucky given that it was all outdoors in the beautiful grounds of Hampton Court and once I'd manage to contain my excitement and pushed my eyeballs back from their stalks, we had a great day looking at wonderful stalls, taking part in workshops and generally loving being surrounded by such creativity. Highlights were the wonderful Rosy Nicholas in the Pom Pom class who was thoroughly engaging and made everyone titter with her 'every knob needs a pom pom' line! Zeena Shah was simply the nicest girl you could hope to meet as she talked us through the art of lino cut printing. Mine is the splodgy girl with a balloon, ahem. We also enjoyed Kaffe Fassett's talk on fabric, painting and his abhorrence of beige! I believe the longest pom pom record was beaten (#worldpomination) and Kirstie looked as pleased as punch with that. Roll on next year! For the last few months, I've been working my way through a collection of patterns that I've acquired; some were free in magazines, others in my fave shop in Chepstow 'Serendipity' so I hadn't spent loads and I always enjoy trying to match something in my existing fabric stash to one of these patterns. A couple of months ago I was lucky enough to collect many many big bags of vintage dress-making fabric courtesy of the friendliest estate agent in Bath, what a coup! I rummaged through and whilst it was was all lovely, mostly plain cottons, corduroys and some viscose, there wasn't anything particularly hippyish or what I was hoping for from those crazy days. However, when I spotted this gorgeous white fabric with cute lemon and blue flowers I knew I'd found my treasure. It's super thin, so I'm not sure what it was intended for but I used it on Simplicity 1609 as it has a retro look to it and I knew the style would set the border off well. It was a straightforward pattern and apart from lengthening the front facing to protect my modesty I love the dress!! It's a very fitted shape, with 2 pairs of front darts and a long rear zip. I had to purchase an M&S full length slip to go underneath, you know, like your mum used to wear, but I have to say, it's one of the most comfy pieces of lingerie I've ever owned!! Who'd have thunk it?! Please excuse the criminal photo below…
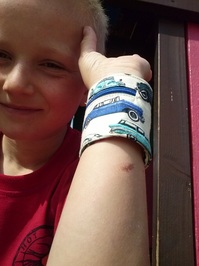
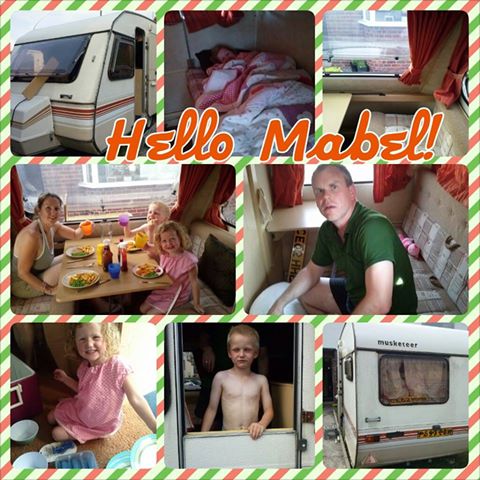
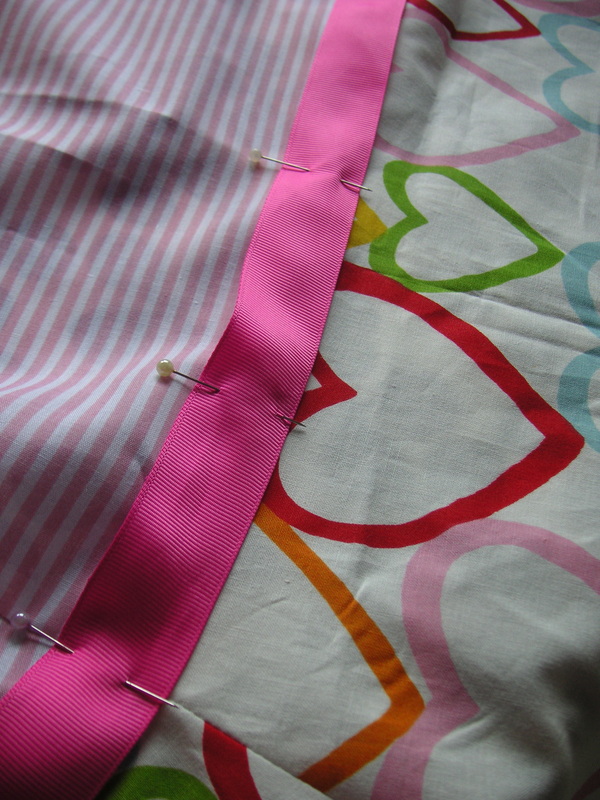
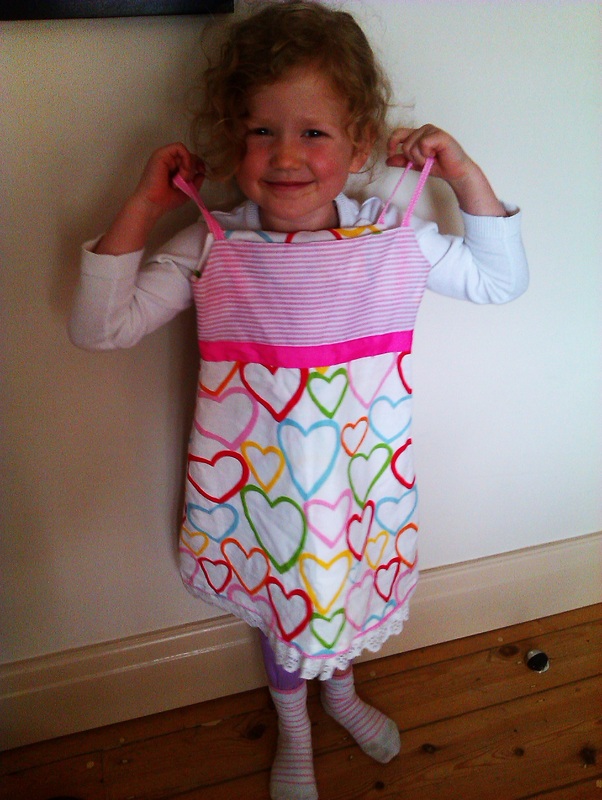
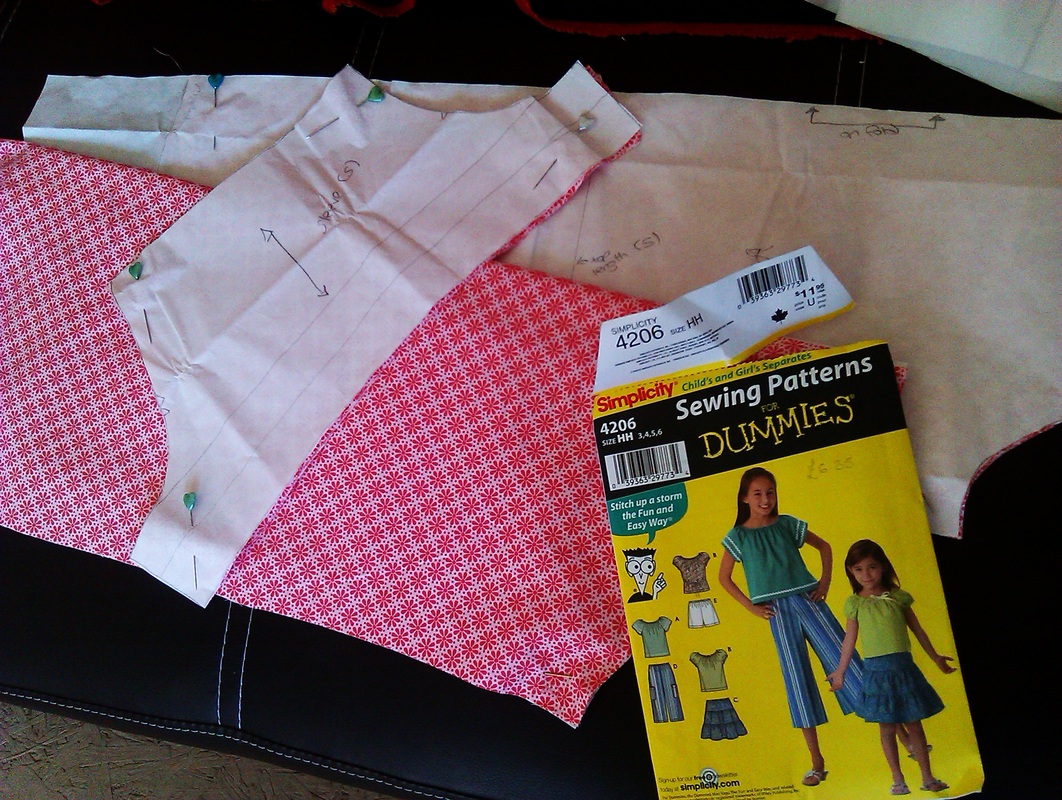
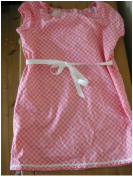
For this dress I was mostly listening to: Burning by The War On Drugs 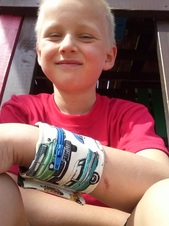 Wowee, it's been almost a year since I last blogged. No points for consistency there then, but now that the schools are back it feels like a fresh start here and I can regain my 'me time' and get back to spending some quality time in my lovely shed. Although I haven't been sharing stuff here, rest assured I have been a busy bee sewing and crocheting (sp?) and generally keeping the craft vibe going around here. Last week my son decided he wanted to spend some of his birthday money so we bimbled up to the high street ready to invest in some more quality plastic or tiny figures or yet more lego, aaaghhh! Anyhoo, I digress, halfway up, I asked him if he had his money and he said yes, it's right here in my pock…. ahem, no it's no longer in your pocket, so we had to retrace our steps and unfortunately didn't find the lost tenner and didn't have to further add to the clutter (see, every cloud has a silver lining!). However, on the way home for the 2nd time, I spotted a rolled up bit of paper next to the bin and it was only his birthday money, cunningly camouflaged next to the other debris. Hoorah! After a chat about the value of money we decided to make a safer option for my son to keep his money, that is also very cool looking. I found this great tutorial here which is big enough to hold his pocket money and will be visible and safe on his write. It's basically a big lined pocket with velcro closure. Simples! I used this cute vintage car fabric that I had lying around waiting to be put to good use. Hoorah! Mum and son both happy, apart from the inevitable return visit to the toy shop and the house closing in on us a tad more each day... 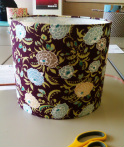 Where I live, I'm lucky to have 2 great cities to visit for craftsperation and there are a wealth of classes and workshops to get stuck into, whether you're a crochet girl or a baker, budding florist (do you see what I did there?!) or blacksmith. A few months ago I went along to the Folk House in Bristol and with Ruth from Quincy Lampshades made a lovely lampshade in Amy Butler's Gypsy Caravan fabric, which I was thrilled with. They offer a huge variety of day and night courses there with bright facilities and a yummy cafe. www.bristolfolkhouse.co.uk Some friends of mine recently gave me some vouchers for The Makery in Bath. However, I did struggle a bit to find something that I really wanted to do there, not really needing any help with totes or cushions, so I signed up for the rather swankily entitled Dress-Making Masterclass. It was held over two Sundays and what better way is there to spend a day than mingling with like-minded people and learning shortcuts and improvements on ways to make clothes. Whilst I wasn't particularly impressed with our tutor's opening intro that nobody had ever completed the top over the two days (really?!) I enjoyed the chit-chat amongst fellow sewers and learnt a few useful tips about pinning. Well, it appears I like a challenge and became the first person to finish the top, but it's rather an unflattering little number that unfortunately wasn't correctly tailored by our tutor so it'll no doubt end up being taken apart and remade into something else. The lovely Kate Smith offered me the chance to return to the Makery for a more successful experience, so I'll let you know what I decide to do, possibly a bit of screen printing or knicker making. Saucy! 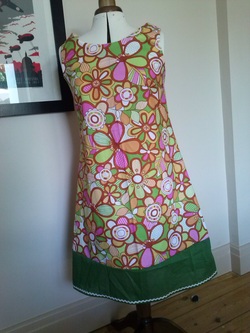 As promised I'm continuing to work my way through the Great British Sewing Bee patterns and have struck gold with the first pattern in the book, the Tunic. I don't really wear tunics, so I made it a little longer to be worn as a dress and it really is a lovely pattern, very simple (apart from this particularly fiddly method of putting in facing - won't be doing it like that again!) I think the main reason this works is because of the fabric choice, I LOVE LOVE LOVE this retro looking floral - Free Spirit Summersault. It works well with this style as well and I think would look at home at Woodstock or Glyndebourne! I had just one metre so I added a contrasting strip at the bottom with a slither of ric-rac to finish it off (couldn't resist!) I'm pleased with it and have already worn it many times. If I make it again, I'll probably try to give it a bit more shape, but like this it works well with or without a belt (I picked up a neon pink one for a pound!) Ta-dah! Note to self, taking photos on Nancy is not the most flattering way to show off new garment…  Mabel the Musketeer! Mabel the Musketeer! Oops, where did that time go? I do have an excuse though, I've been preoccupied acquiring a new addition to the Turner household. No, it's not a fluffy rabbit or a cute puppy, her name is Mabel and she's a Sprite Musketeer, yep, I'm now proud to announce that I'm a caravanner! And Mabel is finally on home turf having been purchased on ebay a few weeks ago and kindly collected and looked after on my lovely friends' farm (thanks the Gibsons!). She's now cluttering up the front lawn and creating much interest from the neighbours, who are all keen to have a nose, but probably more interested in finding out just how long exactly, she's going to be parked there?! As a child we had many fun caravan holidays; for years in large static vans in Cornwall and Devon and then when my dad became more brave, he bought a Sprite Alpine that soon became very loved and well used. I can still remember the classic brown and orange combo that it was kitted out in, complete with orange melamine cups and as you can see, Mabel seems to be very similar, even though she's a bit younger (1986). She needs some tlc and this extends further than my anticipated fabric makeover as, inevitably, there is some damp and my husband, although sceptical at first, has grasped this challenge with both hands and can often be caught perusing caravan parts websites late in the evening! I nearly fell over when he declared 'it's going to be fun!' Here are some photos of her now and as I revamp the old girl, I'll post some more. Still not sure what colourway to go for, maybe teal and red or green and blue or something very different. All I can guarantee is that she won't be 'shabby chic' as that isn't my style at all. New curtains, flooring, seat covers and accessories for starters, then we'll see what the local car boot sales offer for the rest. The children are very excited and wanted to sleep in her the first night, emptying half their bedrooms into her within minutes. We'll try to squeeze a cheeky weekend away in her this summer and park her on a site somewhere next summer. A site that allows old ladies to visit and not just brand new, all singing, all dancing caravans that is... 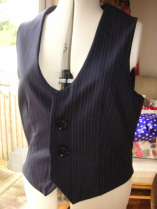 Somewhat belatedly, I've got a moment to jot down my latest sewing antics. We've been away to Kent for the weekend, so no chance to 'get my blog on' there, although it was lovely and I may well share a few photos later on. I had a good time last week making things for the boys in my life, namely Roan my son and Matt my current husband (!!). A few months back I bought some bi-plane fabric on ebay and had it earmarked for pyjamas, but with this sudden blast of summer, it's far too hot at night for that, so in half an hour I quickly knocked together a pair of shorts (using same Sewing for Dummies pattern of last week). Honestly, they're so easy and Roan was able to put them on just half an hour after he'd selected fabric. Now THAT's my kind of sewing! I've made a few pairs of trousers in the past, so the structure was straightforward and of course given only half the material, they whizzed through my machine with no drama. Only problem now is trying to wrench them off him to put them in the wash! So on to the next TGBSB pattern, the Men's Waistcoat, which looked so stylish and simple. I used a navy pinstripe wool mix for the outer fabric and lined it with a cotton twill as that was all that was available to me at the time. Again it was a simple pattern to follow, with darted front and 3 back panels. I hand-sewed the lining openings but even that hasn't ruined it! Unfortunately though, the sizes they use in the book are supposedly standard sizing but their Large is not the same as my husband's so it's a tight, almost risque look for Mr T and I'll have to find one of his smaller, skinnier mates to offer it on to. Still, project ticked off and I'm happy with the results, especially some lovely huge vintage buttons that finished it off. Nancy looks good in it, hey? As promised, after the Tea Dress I said I'd have a go at invisible zips and the Girl's Dress in TGBSB looked so pretty I rummaged around and made it up using some leftover Ikea fabric & some stripes for the bodice. A splash of ribbon here and there with a vintage ribbon gathered trim seemed to work ok BUT my zip is not invisible and my school report on this would definitely read 'must try harder'. I've actually used this method of zip insertion when making cushions, purely by fluke though, so even though I don't have an invisible zip foot, as they recommend in the book, I'm sure I could get closer next time. 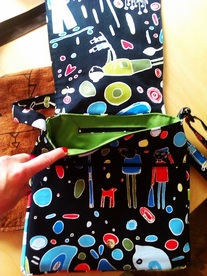 Old bag hiding sadly behind new bag Old bag hiding sadly behind new bag For my Maggie Moo brand, I almost always come back to making bags. I do lots of other things too, but there's something very satisfying about bags. I think you're either a shoe girl or a bag… lady, and I fall into the latter. Can't be bothered with stilettos and peep toes, but come over all of a quiver if I see a snazzy clutch purse or an oh so functional messenger with just the right number of compartments! Most of my range is made of oilcloth, because having mastered how to sew it, I really enjoy using such a sturdy and practical material. Anyhoooo, back to bags, because they're such a personal item, when you find one that you like, you can use and abuse it until one day it may well, give one last breath and say ENOUGH already! That's what happened to Jan's bag. It was well loved alright, but could no longer reciprocate and she brought it to me to clone. This is the result, she was bold in her choice of fabric, this Ikea design is one of my faves, and hopefully theirs will be a partnership that will go on and on… Now you can't always say that about some killer heels that almost killed you at the end of the party and end up tossed to the back of the wardrobe in disgust... 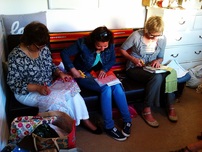 One of the nicest things about crafting is sharing ideas with like minded people and seeing where the creative juices flow. Since I tend to work alone, (quite happily) in my shed, these interactions are really important to me and it always encourages me to get on and finish things or make something completely different. Where I live, there are plenty of opportunities to take up new hobbies or join in groups and one of those is the Transition Keynsham Stitch 'n' Bitch (http://keynshamt.wordpress.com/stitch-and-bitch/), that I've been going to for a couple of years now. It's run by the lovely Erica who has a wealth of experience in sewing, knitting and crochet and she has helped me untangle small disasters on many occasions. This group opens up a new world to me within a small town and I love that this is something unique to us. It's not about being R&M's mummy or Mrs T, but just a love of making that brings us together from all our different backgrounds. It was just a matter of time before a few friends and I suggested getting together for a similar purpose, to share skills and have fun creating and making. So far, I've learned how to make (& eat!) delicious curries and perfect my granny squares. It was my turn to host this week and I have to say I don't think my shed has ever been so hot - it must have been all the nimble fingers sewing and the flushed G&T tickled cheeks! Snap purses are BIG right now, I see them at all the fairs, so I thought we'd have a go at them. In true Blue Peter fashion, I did have 'a couple I'd made earlier' and we were all really pleased with our results. Lorraine kindly passed on a girl's pattern & I've made Maggie a little nightie for these warm nights we're finally getting. Hoorah, it looks like summer out there! Oooh, yeah, mustn't forget to share my top tips this week! My little scissors were getting blunt and I read somewhere that you could use foil to sharpen them - well it only bleedin' works,doesn't it! Just fold up a small piece of foil several times until it's about 8 sheets thick and cut it with the blunt scissors. After a few goes it starts to sharpen - MAGIC!
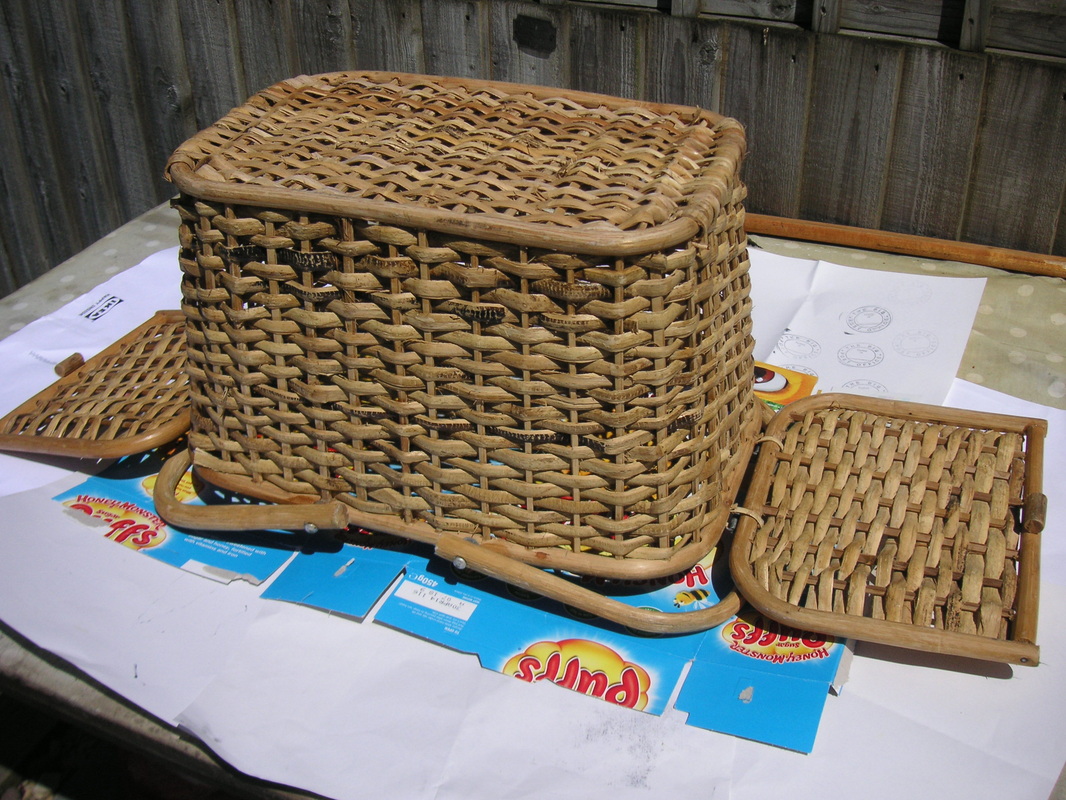
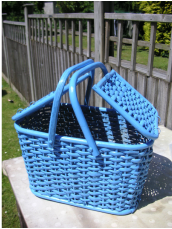
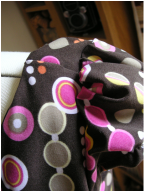
AND I've discovered spray painting, a bit late I realise as someone has already gone crazy in Bristol using it, but my needs were a little more domestic… I picked up a cheap wicker basket recently but didn't like it that much. A few wafts of spray paint though and I love it now! 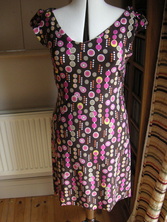 This week I got down and dirty with jersey. Yep, and I can fairly safely say I will not be doing that again! I found this gorgeous brown/pink/orange jersey fabric recently and when I saw The Great British Sewing Bee's (TGBSB) pattern for a tea dress, I though they would make a perfect combo. Cutting out was ok using a rotary cutter, but sewing was, well, not without frustration. I'd read up on tips on how to sew jersey and I thought that having mastered oilcloth, I'd get a handle on this stuff easily enough. Using my ball-point needle and walker foot I began cautiously in the appropriate stretch stitch and whilst some of it went ok, most of it was very messy indeed and prompted rather a lot of swear words that filled the shed. I carried on regardless, desperately not wanting to add to my pile of ufos and actually, in the end, not peeking at inside seams at all, it has turned out fine and only took about an hour and a half to put together as it has only a few pieces (front, back, facings and sleeves). It fits, it's comfortable and I still LOVE the fabric. This is Nancy showing it off above, named by my daughter and I think it suits her. Said daughter is a little perturbed by her not having a head and begs me to give her the blue one that lives in my shed… relax it's polystyrene and generally just looks dandy sporting a venetian mask as I don't find myself at many fiestas around here. Anyway, I digress… someone very kindly gave me an overlocker last year but I haven't yet tried it out; I'm sure that would have whipped through jersey without a hiccup, but I haven't yet plucked up the courage to use it. The GBSB pattern instructions were very clear but since I made the dress from jersey I avoided the need for an invisible zip, so I'll tackle that with my next project. Job done!  I also made these in the week, they're my hi-top bags in matt black oilcloth with deckchair and pink geo linings. |
AuthorHi, thanks for dropping by, welcome! Archives
October 2014
Categories
All
|


 RSS Feed
